


FULL TABLE
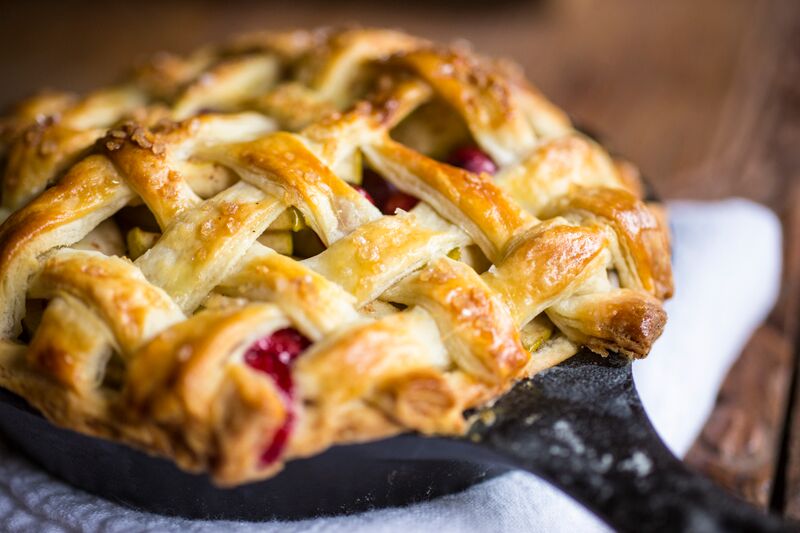
APPLE CRANBERRY PIE + LATTICE CRUST

YOU GUYS. This post was supposed to go up for Christmas. I have no excuse! I’m the worst! I’m a terrible blogger!
But then I tell myself to hush up and stop whining. The truth is, pie is a thing ALL YEAR LONG. Why would we confine our Apple Pie eating to only the holidays? I can’t come up with good reasoning for that. And I’m a reasonable person… so I’m moving forward with this post even though we are pretty much done with January and moving quickly into Valentines Day chocolate everything season and everyone is forgetting about the utter magic of pie. I’m here to remedy that terrible reality and pull you all back into the bliss of a perfectly constructed pie.
Also, I’ve been shocked by the number of people I meet that are scared of making pie crust! Where are all of the grandmothers these days? Why are you not teaching your babies how to make pie and instead standing idly by while they purchase fake pie crust from the market freezer? I’ll never understand. PEOPLE – pie crust is not your enemy. Its super easy once you learn a couple of tricks. I’m here to hold your hand as you travel through the terrifying new world of homemade things. That’s what I’m here for, friends. Don’t you love me?
Take a look at that beautiful pie up there. See the layers in that crust? That’s what I’m here to enlighten you about. Flaky layers are EVERYTHING. Please don’t short change yourself with anything less!!
I’ve been using the crust recipe from Joy The Baker. I love that she uses buttermilk instead of water – HUGE DIFFERENCE! However, my process is a little different that hers because I wanted all of those perfect little layers in the crust. To do this, you need to learn a {very} simple technique called Fraiser. Don’t panic… I promise it’s easy!
This recipe will make enough for a 10 inch double crust pie. Or, in the case of this post… two small pies with lattice crust tops. (detailed ingredient list and instructions at the bottom of this post!)
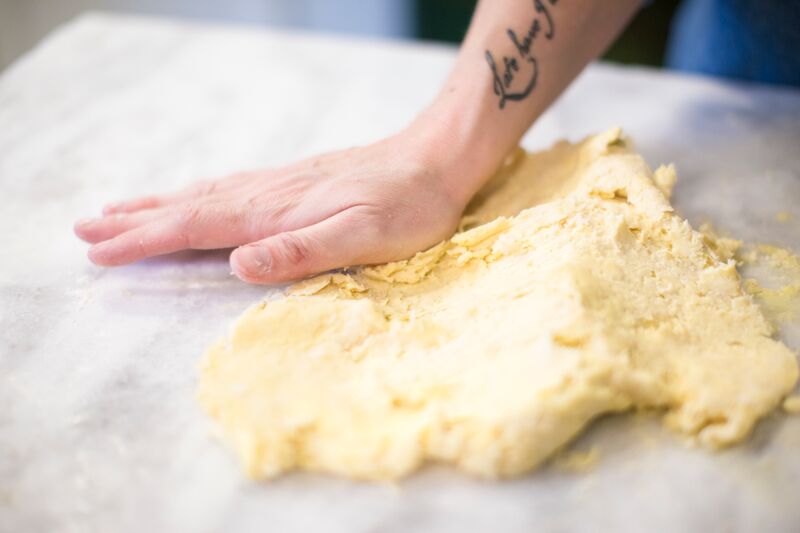
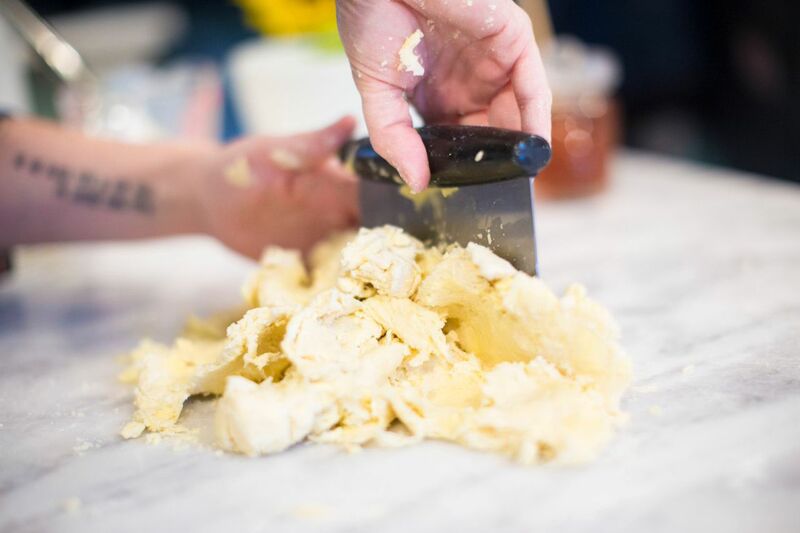
Let’s talk about the Fraiser technique. It’s sounds fancier than it really is! Basically your are creating layers of butter throughout the pie dough so that when you bake the pie, those flaky layers that are the stuff of DREAMS will form. Pour the pie crust mixture out onto a clean surface. Then, using the heel of your hand, start pushing the mixture away from you… smearing it onto the board and making long streaks of butter through the flour.
Using a scraper, gather the dough and fold it in on itself like a letter.
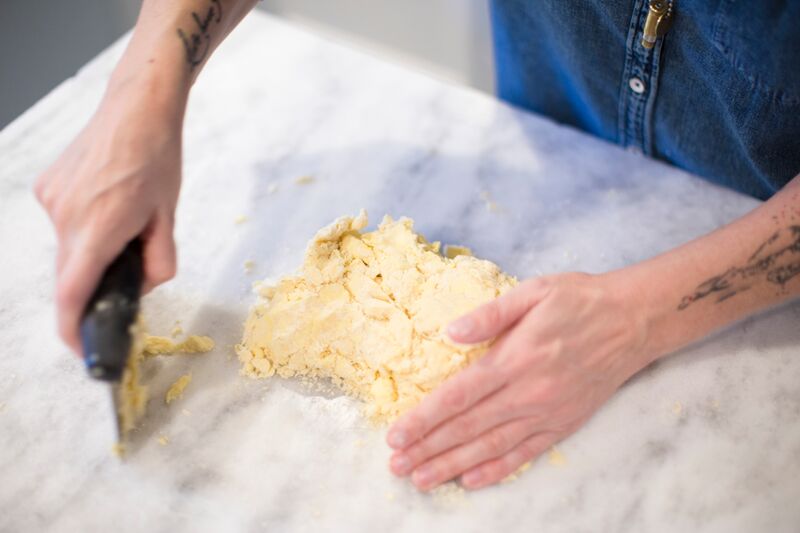
Turn the pile a 1/4 turn and repeat the Fraiser step. You will do this process about 3-4 times until everything is nice and incorporated. Try and work quickly because the heat in your hands is the enemy of that cold butter we need!
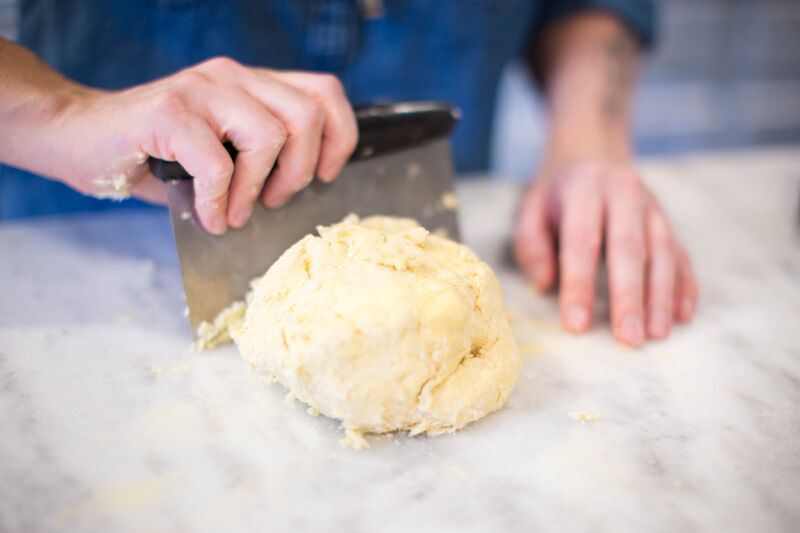
At this point, you will have a lovely mound of pie dough. Yay! You did it! Now, divide the mound in half, wrap in plastic wrap and smoosh it into a somewhat flat/round disk. Pop them into the refrigerator for at least a couple of hours so that the dough can rest and that butter can get all nice and chilled again.
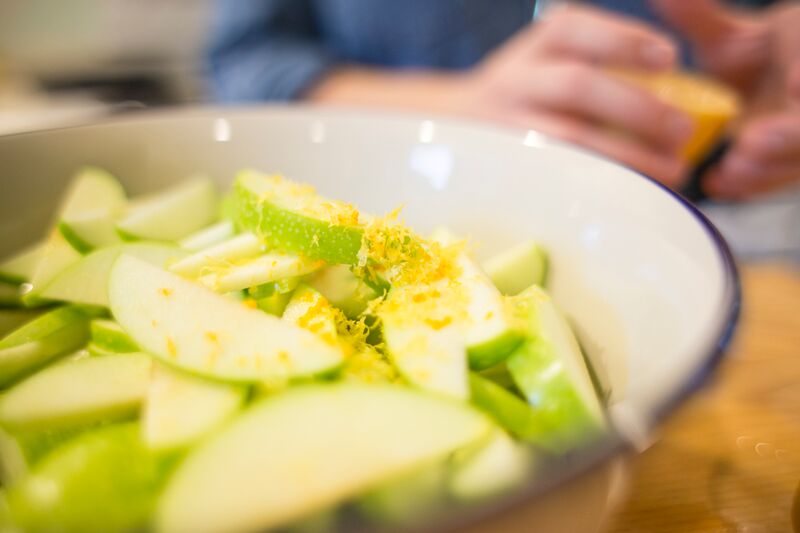
When the dough is sufficiently chilled, pull together your filling. I adore apple pie – it’s one of my love languages. I know you’re with me on this.
Now for a moment of honesty. I never measure things for pie filling. I wing it… and I think that’s the way it should be. A little sugar, a little fruit, a little {LOT} of lovin’. Alas… I’ll try to give you more specifics. This filling is adapted from the Barefoot Contessa Deep Dish Apple Pie recipe.
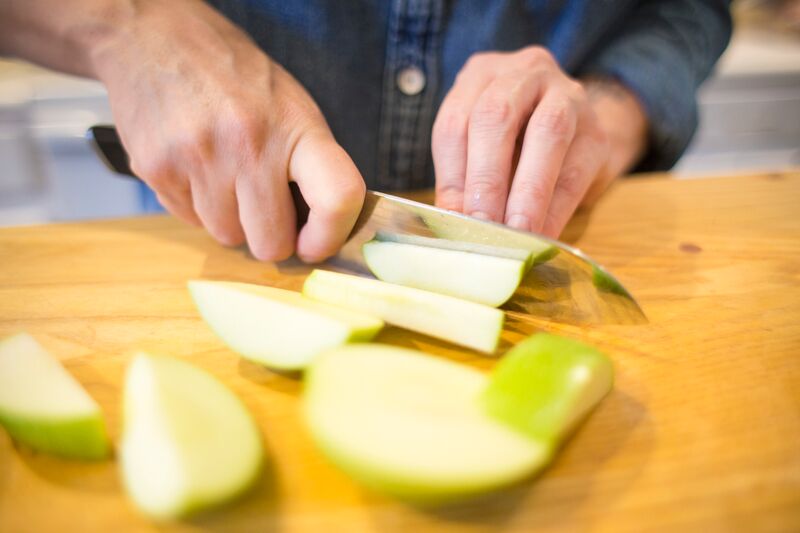
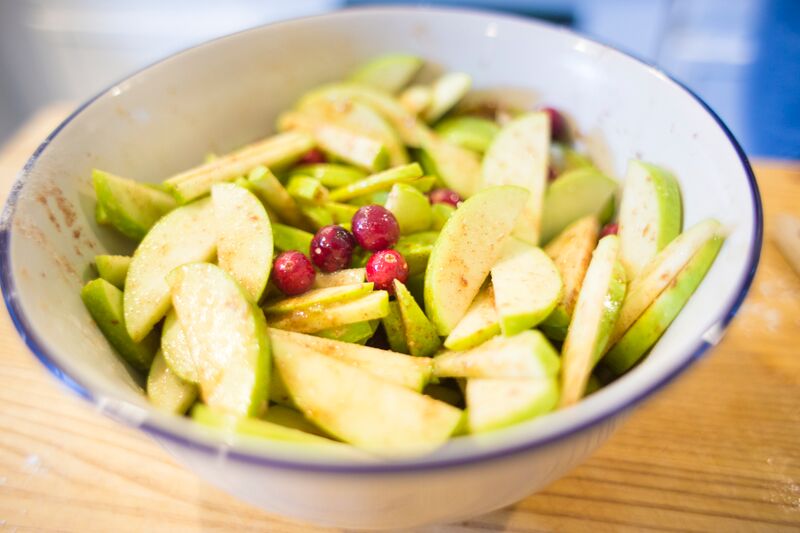
Slice up your Granny Smiths. Throw them in a big bowl with all of the other filling ingredients and mix well.
Now it’s time to roll out some dough! Woohoo – I know this is the part you’ve been waiting for! Preheat your oven to 400 degrees.
Pull the dough out of the fridge about 10 minutes before you are ready to roll it out.

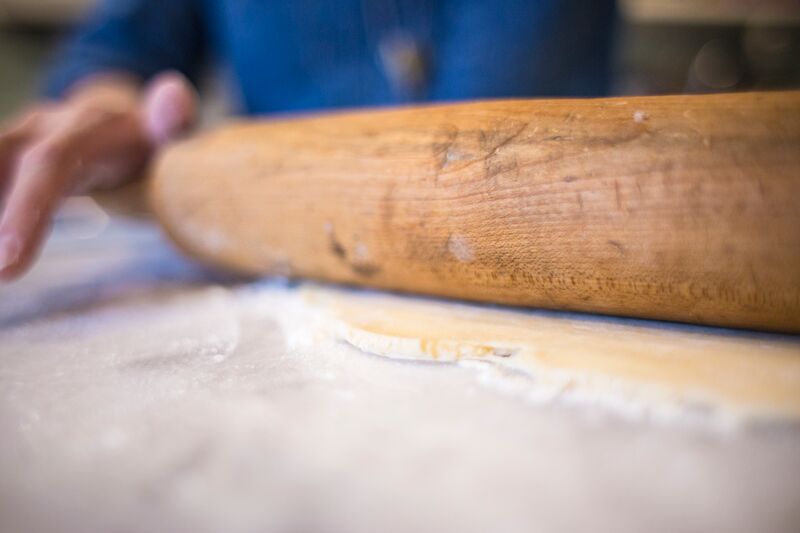
Roll the first piece on a well-floured board into a circle. Roll from the center to the edge. Turn and flour the dough to make sure it doesn’t stick to the board.
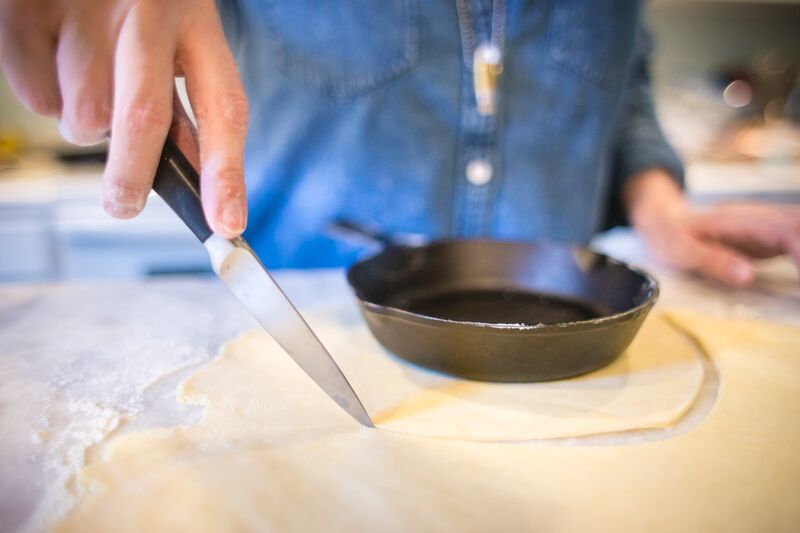
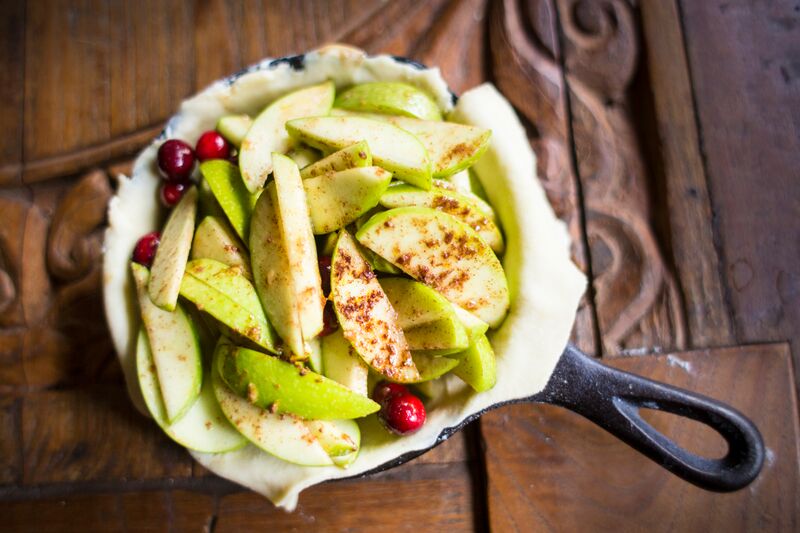
I made these in my adorable little mini cast iron pans. Because: CAST IRON. Everything is better in a skillet. AMEN!
Cut out two circles slightly larger than the pan from this first dough round. Transfer the pie dough to the skillet and then put them in the fridge while you do the next step.
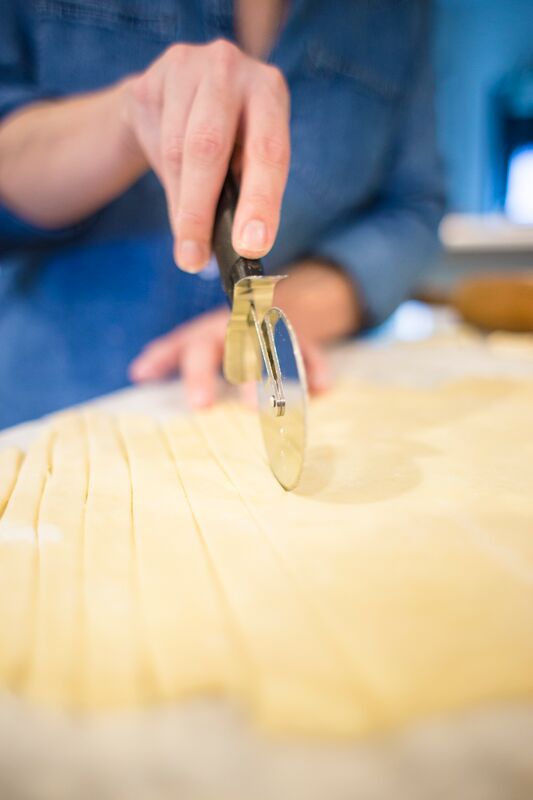
Now… roll out the second piece of dough. Using a pizza cutter or a sharp knife, cut out long strips about 1/2 inch wide.
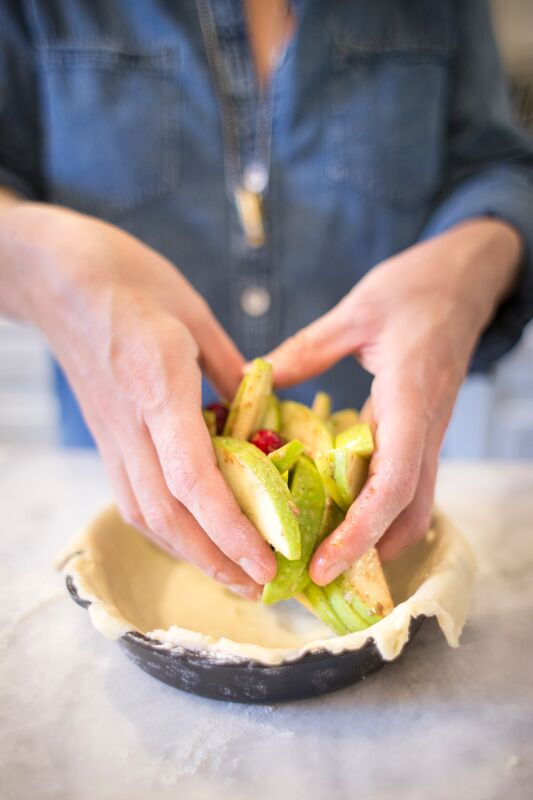
When you have the strips ready, fill your skillets with the apple pie filling.
Goodness gracious – I’m making another one of these TO-DAY.
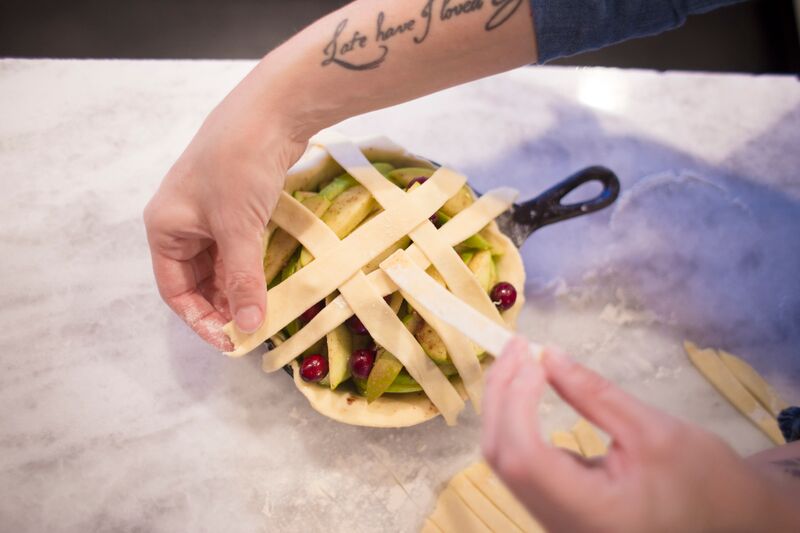
Now for the lattice crust hand holding. I know it looks intimidating but it’s really SO EASY! So put your big girl pants on (or your tighty whities) and take my hand. I’m here to help you look like a rock star!
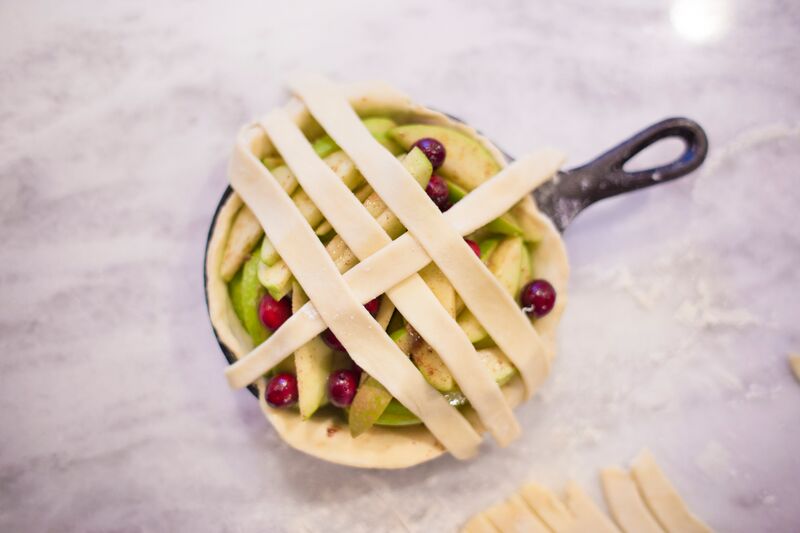
First, make a “x” in the center of the pie with two strips of dough. Lay two news strips across strip 2 parallel to strip 1.
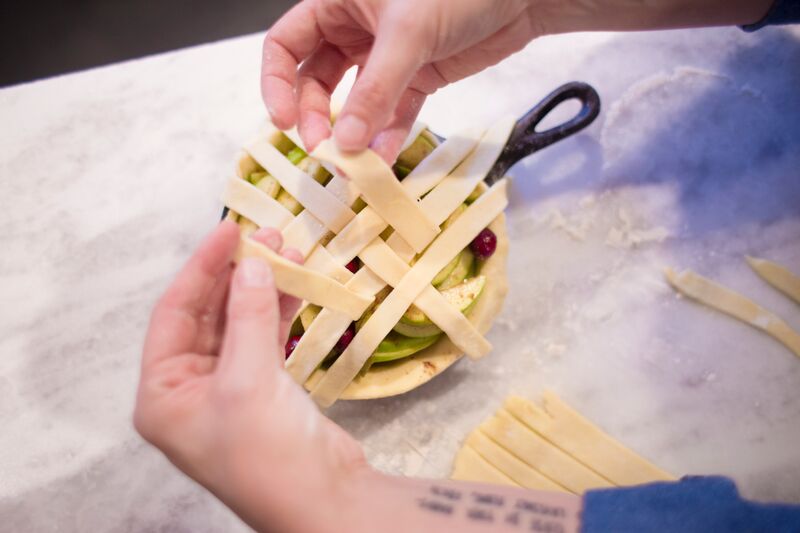
Lifting the end of strip 1, add another strip across strips 3 + 4 parallel to strip 2.
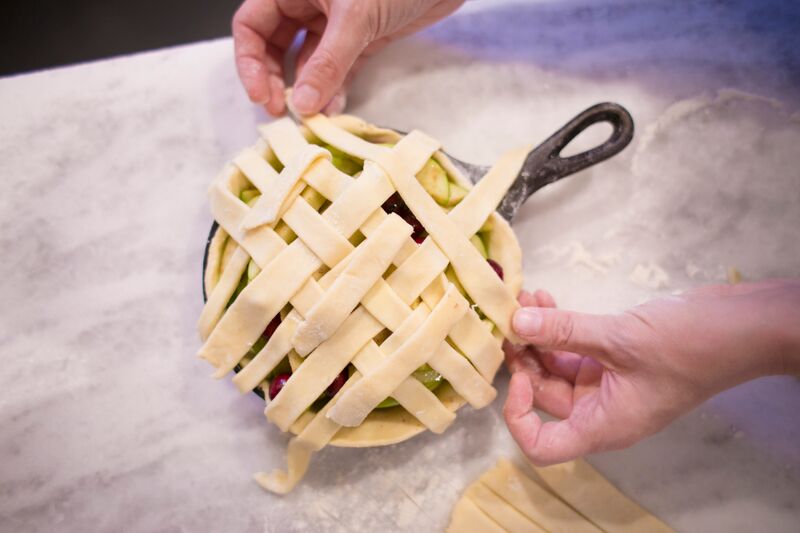
Continue this process until you’ve covered the pie!
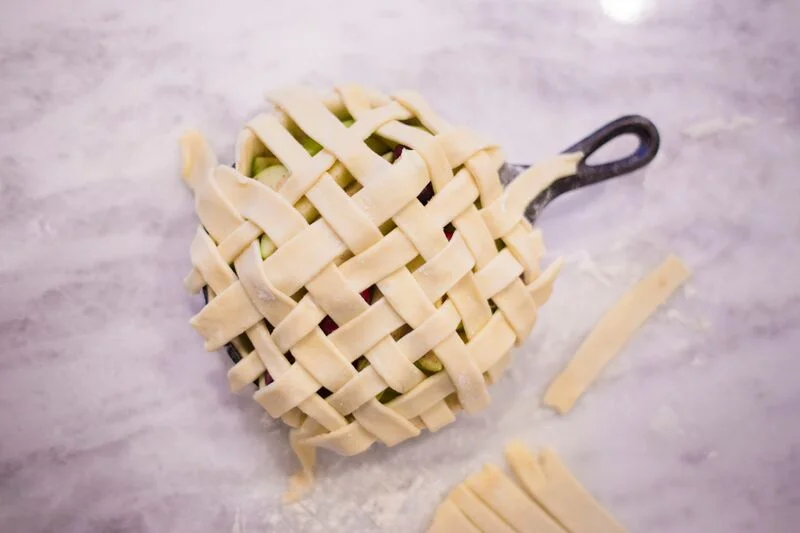
Trim the ends and tuck under, pressing slightly to seal the edges a bit.

Brush the top of the pie with an egg wash (beat an egg with a tiny bit of water and brush away!) Then sprinkle with a little sugar. Place the pie on a foil lined baking sheet (to catch any drips). Bake for about 30-40 minutes or until the top is nicely brown and the insides are bubbling.
Making a fabulous pie is a labor of love. But there is nothing that can compare to that smell… and that taste… and the look on your family and friends faces when they see what you’ve done for them. This, my friends… this is true love.

Thanks so much for stopping by! I sure do love you all (especially YOU!) Now go make pie!
All images by Matthew Ray.
related posts


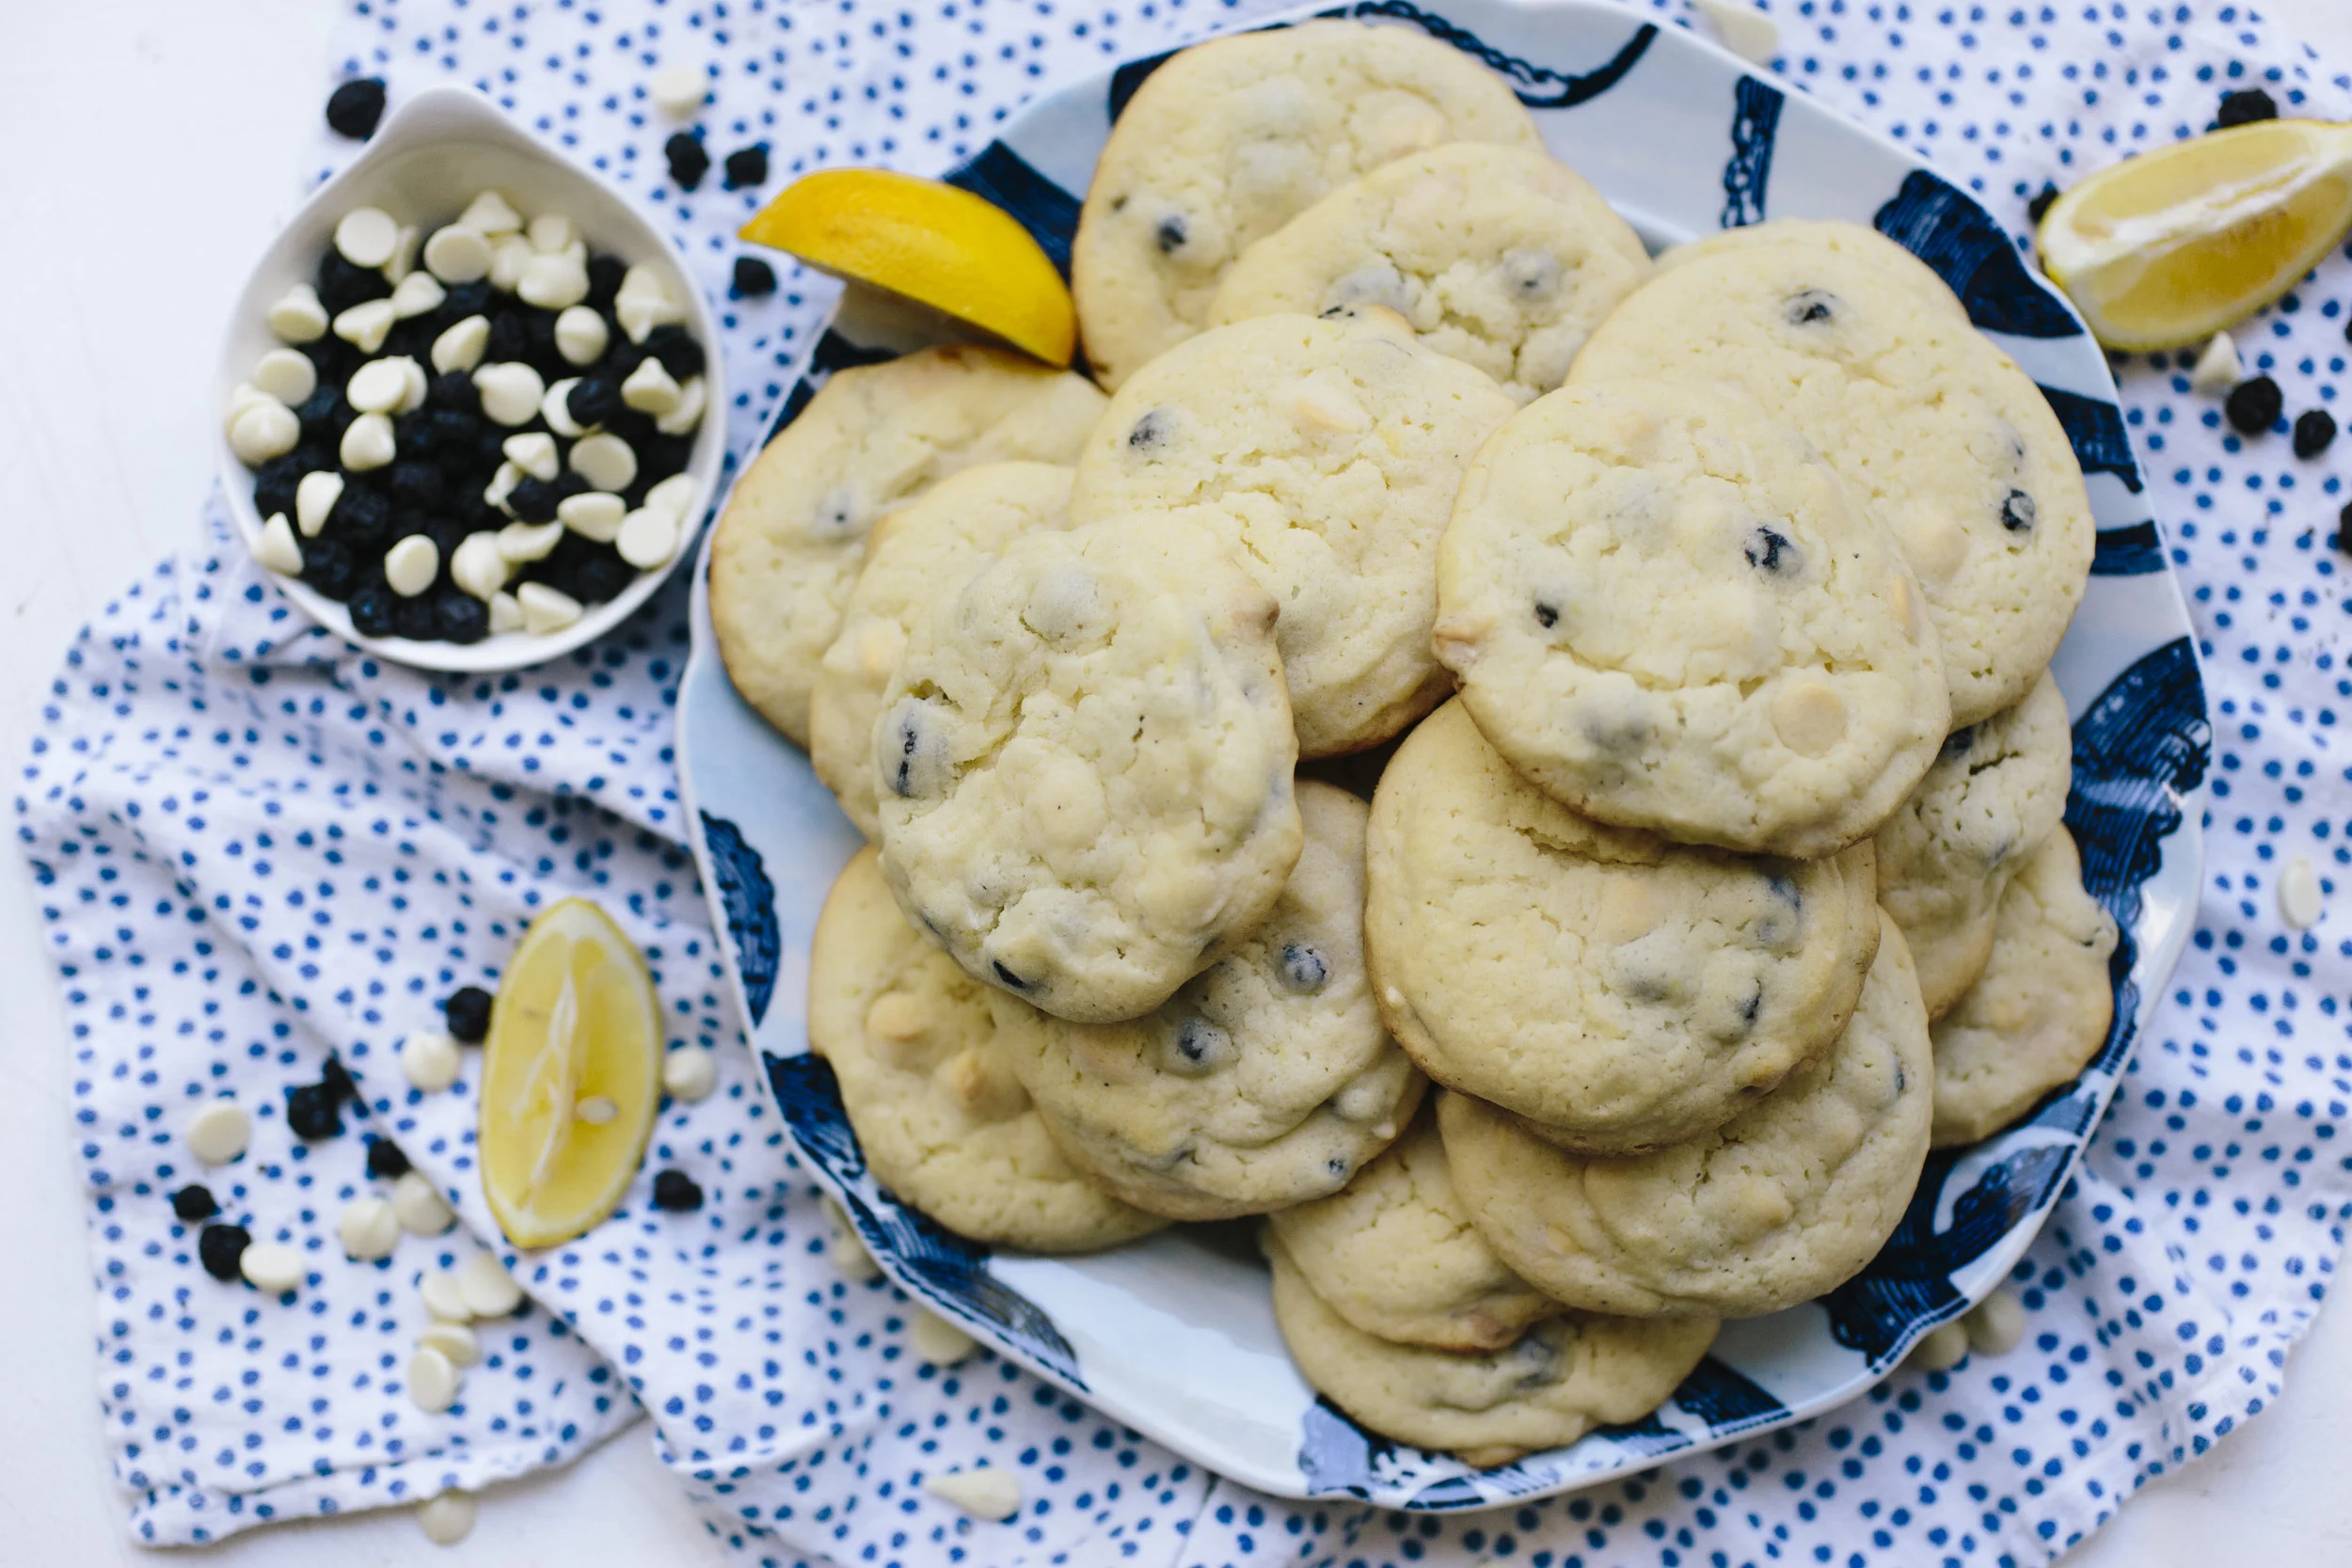
Listen. I am a diehard chocolate lover. Chocolate chip cookies are my thing and I rarely stray. Except for these beautiful little sweet/tart pillowy cookies that have my heart forever and always.
They are SO DANG GOOD. And you should go right ahead and make them right now. After all, we are – every last one of us – in the throws of our quarantine baking marathons and I’m here to help you out.